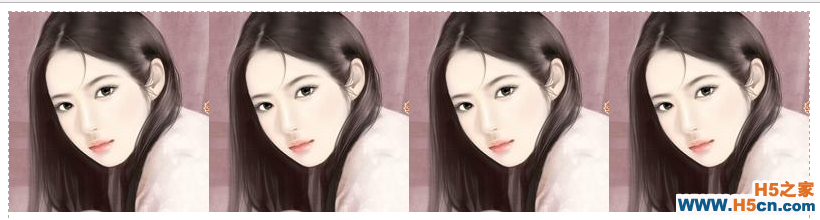
1 <meta charset='utf-8' /> 2 <style> 3 #canvas{ 4 border:1px dashed #aaa; 5 } 6 </style> 7 <script> 8 window.onload = function(){ 9 var oCanvas = document.querySelector( "#canvas" ), 10 oGc = oCanvas.getContext( '2d' ), 11 width = oCanvas.width, height = oCanvas.height; oImg = new Image(); 14 oImg.src = './img/mv.jpg'; 15 oImg.onload = function(){ 16 var pattern = oGc.createPattern( oImg, 'repeat' ); 17 oGc.fillStyle = pattern; 18 oGc.fillRect( 0, 0, width, height ); 19 } 20 } 21 </script> 22 </head> 23 <body> 24 <canvas></canvas> 25 </body>

repeat-x:
var pattern = oGc.createPattern( oImg, 'repeat-x' );
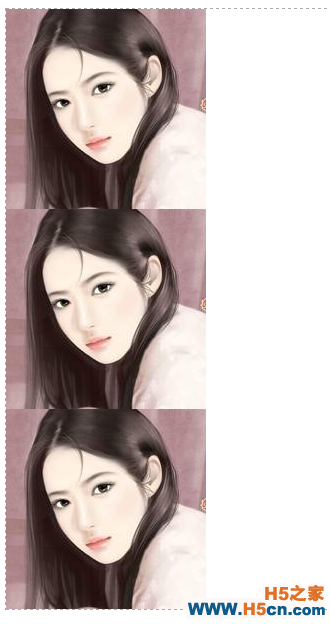
repeat-y
var pattern = oGc.createPattern( oImg, 'repeat-y');
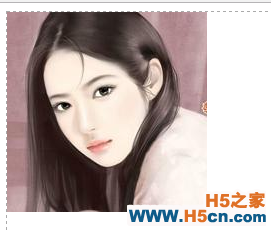
no-repeat:
var pattern = oGc.createPattern( oImg, 'no-repeat' );
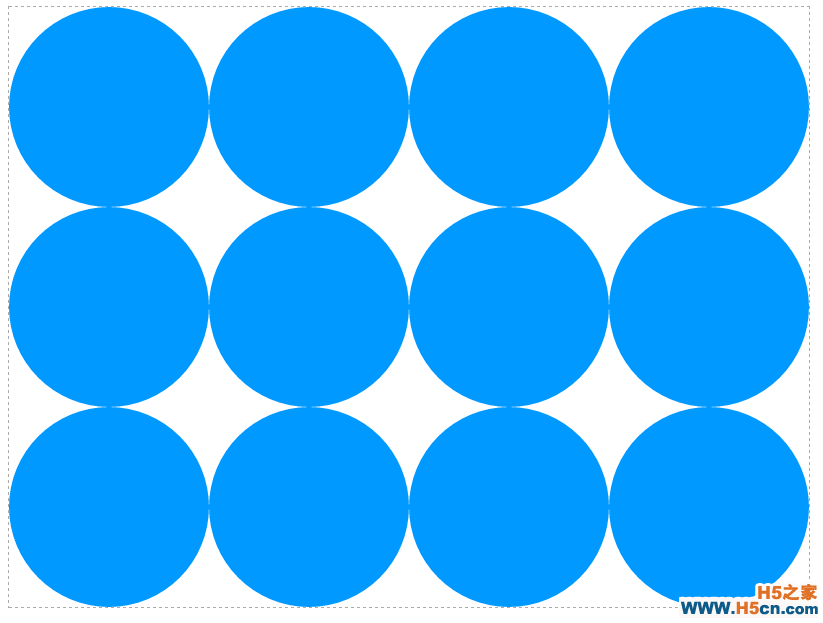
用canvas填充canvas:
创建一个新的canvas,width:200,height:200, 然后再创建一个原心100, 100,半径100的圆,用这个圆作为填充样式填充到canvas.
1 <meta charset='utf-8' /> 2 <style> 3 #canvas{ 4 border:1px dashed #aaa; 5 } 6 </style> 7 <script> 8 window.onload = function(){ 9 var oCanvas = document.querySelector( "#canvas" ), 10 oGc = oCanvas.getContext( '2d' ), 11 width = oCanvas.width, height = oCanvas.height; oNewCanvas = document.createElement( "canvas" ); 14 oNewCanvas.width = 200, 15 oNewCanvas.height = 200, 16 oNewGc = oNewCanvas.getContext( '2d' ); 17 oNewGc.beginPath(); 18 oNewGc.fillStyle = '#09f'; 19 oNewGc.arc( 100, 100, 100, 0, 360 * Math.PI / 180, false ); 20 oNewGc.closePath(); 21 oNewGc.fill(); pattern = oGc.createPattern( oNewCanvas, 'repeat' ); 24 oGc.fillStyle = pattern; 25 oGc.fillRect( 0, 0, width, height ); 26 } 27 </script> 28 </head> 29 <body> 30 <canvas></canvas> 31 </body>
三、切割图片clip
用法:
cxt.clip()
步骤:
1,绘制剪切区域
2,调用裁剪方法clip
3,加载被剪切的素材(图片或者图形等)
1 <meta charset='utf-8' /> 2 <style> 3 #canvas{ 4 border:1px dashed #aaa; 5 } 6 </style> 7 <script> 8 window.onload = function(){ 9 var oCanvas = document.querySelector( "#canvas" ), 10 oGc = oCanvas.getContext( '2d' ), 11 width = oCanvas.width, height = oCanvas.height; 12 13 oGc.beginPath(); 14 oGc.arc( 200, 200, 100, 0, 360 * Math.PI / 180, false ); 15 oGc.closePath(); 16 17 oGc.clip(); oImg = new Image(); 20 oImg.src = './img/mv.jpg'; 21 oImg.onload = function(){ 22 oGc.drawImage( oImg, 100, 100 ); 23 } 24 } 25 </script> 26 </head> 27 <body> 28 <canvas></canvas> 29 </body>
裁剪的区域坐标还是相对canvas.
矩形裁剪:
 相关文章
相关文章![[js高手之路] html5 canvas系列教程 - 认识canvas以及基本使用方法 - ghostwu](/images/defaultpic.gif)
![[js高手之路] html5 canvas系列教程 - 掌握画直线图形的常用API - ghostwu](/upload8/allimg/170930/0P1291048_lit.png)
![[js高手之路] html5 canvas系列教程 - 像素操作(反色,黑白,亮度,复古,蒙版,透明) - ghostw](/upload8/allimg/170929/1P134DA_lit.png)
 精彩导读
精彩导读 热门资讯
热门资讯 关注我们
关注我们
